Let’s get those mountain photography skills to the top! 😉
Mountain landscape photography captures the stunning beauty of mountainous regions and is much different from regular landscape photography. It requires some specific skills and knowledge to get great photos.
In this article, you will learn:
- My take on the best lens for travel and mountain landscape photography
- 9 ways to get fantastic mountain photography shots.
- Including 2 Lightroom tricks, specifically for mountain landscape photography

Mountain Landscape Photography – Key Takeaways
- Bring some grass along to the rocky top for a depth effect.
- Use a tripod for sharp mountain images, portrait shots, and epic panoramas.
- Use an ND filter to prevent losing information in the RAW file.
- Tips for incorporating leading lines that are easily overlooked.
- Start your hike before or at sunrise.
- Use Lightroom Dehaze to make an image clear AND unclear on purpose.
- Mask luminous ranges in the mountains.
- Reset your perspective so as not to miss an opportunity.
- Stand out with different angles and focal lengths than mobile phones.
Table of Contents
The Best lens for Mountain Landscape Photography
The best lens for mountain photography is a telephoto lens. That type of lens has an extensive zoom range (a.k.a. long-focus lens). Some might prefer a wide-angle lens (and, of course, you can bring both), but a telephoto lens with a range of 50-400 or 100-400 is perfect for a mountain trip.
Bringing a zoom-lens has several benefits:
- You can pick multiple areas of the mountains to make photos from by zooming in. (More content)
- You can still make wide-angle shots with the panorama feature of Lightroom (More on that later on)
- Some telephoto lenses have macro capabilities, which is fantastic for shots of flowers in the mountains
- You’re prepared with a zoom lens if you run into some wildlife.
- Bringing one lens leaves more room for other necessary items, such as water and food.
I use the Tamron 50-400, which I absolutely love. Check out my full review of this powerful lens.

Quick Recap on the best Camera Settings
Getting those epic mountain shots is about nailing your camera settings (as with any type of photography of course!).
First up, ‘ISO – keep it low’ (around 100-200) in bright daylight to avoid grainy pics.
Next, go with a higher f-stop for the aperture, like f/6 to f/12. This keeps everything from the foreground to the distant peaks sharp. Shutter speed is your magic wand for creative effects.
A slower shutter speed (like 1/30th of a second or slower) can create dreamy, blurred clouds or flowing water.
A faster speed (1/250th of a second or faster) freezes action, for more detail. Master these settings by experimenting and capture the beauty of the mountains like a pro.
Recap:
- ISO – 100-200 (try to keep it as low as possible)
- f – f/6-f/12 (lower f gives you more light and a more blurry background; great to create depth with something in the foreground)
- Lower the f first when there is less light instead of the ISO.
- Shutterspeed 1/30 to capture motion like water, to 1/250 or higher to get a sharp image and “freeze” the subject. (at least 1/1000 for many types of moving wildlife)
- When zoomed in a lot, a faster shutter speed can help to handle the camera’s movements and get a sharp image.
- White balance: I always leave it on auto.
Make sure to never overexpose your photo’s. Sharpness comes first, then brightness.
Bringing your own Foreground Elements
An excellent trick for getting epic mountain photos is to incorporate foreground elements into the image to create a sense of depth and to show the magnitude of the view of the mountain.
It isn’t always possible to find something to put in the foreground. When hiking in the mountains, you’ll often encounter rocks or snow.
A smart and simple trick is to bring a few straws of grass or flowers from down the mountains when you begin the hike. When you are high up in the mountains, have them close to your lens when taking a photo.
Another option is to put your backpack on the ground before you and use it as a foreground element. This creates a sense of traveling along and makes the viewer part of the hike.
This way, your photos will have that epic feeling of depth.
Experiment with focusing on either the foreground or the background.

Using the right Filters
Filters are a must for good mountain shots. I recommend a ‘neutral density‘ filter, which is like sunglasses for your lens.
When you’re hiking in the mountains, there will be many spots in the frame that reflect lost light (depending on the hiking time, of course). Often, there will be snow, a glacier, waterfalls, a river, or some shiny rocks.
When certain spots are overexposed, which happens quite fast in reflection surfaces, the details of those spots are lost. Not even RAW images can restore overexposed spots.
So, if you want to shoot a nice, clean shot where all the details are intact, using a neutral density filter is a smart thing to do.
It will make the photo slightly darker but you can compensate that with a slightly higher ISO or slightly lower shutterspeed. This truly helps to get some stunning mountain photography.
It’s also works great for protecting your expensive lens!
Filters by Hoya have an excellent price to quality ratio. In my opinion there is no need to spend lots of money on filters. About 450 dollars is more than enough for a good quality filter.
Use a Tripod for the Best mountain panorama shots
Of course, using a tripod is something you probably heard about many times, but hear me out!
Using a tripod for landscape photography is not only a smart idea for getting the most sharp images, but it is also beneficial for shooting panorama shots.
You get a perfect panorama shot by putting the camera on the tripod and rotating it from left to right while taking a photo from every angle.
Making Panorama Photos in Lightroom

Total Cost:
Lightroom – 12USD per month
Required Tools:
– Lightroom Classic or Mobile.
Things Needed:
– Several photos from one position taken from left to right, or visa versa.
Steps to configure the How-to Schema:
Step 1: Select all photos you shot from different angles for the panorama
Step 2: Make a right click to open the menu and go to Photo Merge
Step 3: Select Panorama
Step 4: Select Spherical, Cylindrical or Perspective:
Spherical: This mode twists and shapes your photos as if they’re plastered inside a giant ball. Perfect for those super wide or multi-row panoramas and HDR shots. It’s like wrapping your pics around you.
Cylindrical: Imagine your photos wrapped inside a tube. This projection is fantastic for wide panoramas and keeps those vertical lines straight as an arrow.
Perspective: Think of this one as laying your panorama flat on a table. It keeps all those straight lines looking sharp, making it awesome for architecture shots. But really wide panoramas might look funky at the edges with this mode.
No matter which mode you pick, they’ll all work great for both horizontal and vertical panoramas.

You can also do this without a tripod, but using a tripod ensures Lightroom doesn’t have to crop anything, and you get the full shot in your panorama photo. This will result in the highest-quality photograph.
This is why having a wide-angle lens is kind of obsolete when you have a zoom lens and know how to make panorama shots.
You can even make less wide panorama shots to make it look like a regular wide-angle shot.
It’s also great to take photos of yourself, of course!

Experiment with Composition in mountain landscape photography
Exploring different compositions in mountain landscape photography can lead to unique and awesome images. Play with leading lines, framing techniques, and the rule of thirds to create visually appealing shots.
The technique of ‘leading lines‘ is especially one that gets overlooked easily but can be great when taking photos in the mountains.
Leading lines are more than just a road leading to the center of the image! It can be any form of line you find in nature that leads the eyes of the viewer to a certain point in your image.
In the mountains, you can see lines on the edges of the mountains, frozen rivers, or pathways, for example. Try to frame the image in a way that it leads to something.
Think of it like finding a ‘finish line’ in your photo. They should call it the “leading to the finish line” technique!
This can be anything, like the top of a mountain, some fellow travelers, or a specific point of shining sunlight.
Experiment with different angles and perspectives to find the most engaging way to capture the mountains.

Resetting your perspective with every view
Many times when I arrived home and looked at the photos I noticed I should have used different focal ranges more.
Using various zoom ranges seems very obvious when you have a zoom lens, but I caught myself many times not using it enough!
The trick is to see every new view or frame as a new opportunity for different shots.

Shooting a small part of a mountain can give a very different feeling than shooting a broader view.
Or, when you have already taken several photos with something in the foreground, don’t skip that technique later on in the trip!
It’s a shame to think that you already have “that kind of shot.” Another view or part of the trip with the same technique could be a different photo that is better than the previous one.
So try different techniques in every new view, even if you have used those already.; something in the foreground for depth, leading lines, rule of thirds, shoot vertically in portrait mode etc.
You minimize the chance of having missed out on some great landscape images when you get home; thank me later!

Sunrise or sunset mountain landscape photography
Sunrise or sunset is one of the best moments during the day to take epic photos.
But, specifically for a trip in the mountains, I would always recommend taking photos during sunrise. This is because it can be dangerous to hike or climb back below again in the dark. Many times, the sun goes down much faster than you might expect!
When you go during sunrise, you’ll not only have no tourists around but you also have the entire day to hike back easily without having to worry about it getting too dark.
Safety first, folks!
In my experience, you also have more chances to encounter wildlife early in the morning than in the evening.

Using Lightroom dehaze in two different ways
The Lightroom Dehaze tool provides a powerful way to enhance your mountain photos.
Firstly, it is mostly used to reduce haze and enhance clarity, bringing out the details and depth in your mountain landscapes.
Especially in the mountains, in the distance, you’ll have haze in the air, small water drops, and sand, which make the image unclear.
Secondly, sometimes, you want to enhance the amount of haze!
This can be very useful if you have a rather busy image with rocks, stones, reflections, etc. It can be helpful to make the top of the image more hazy to make at least some part of the image less busy so the entire image becomes more pleasant to the eye.
This is great to achieve a more simple form of mountain landscape photography.
Check out the example below. Notice how the second image looks less cluttered?


Using the Lightroom Dehaze function in reverse is also a great technique to enhance smoky mountain photography images.
Masking snow in Winter mountain Landscape Photography
Lightroom has this cool feature where you can mask a certain range of brightness.
This is very useful to easily mask snow.
Masking means selecting a certain area of the image. When the selection (mask) is applied, you can adjust that specific area of the photo.
This can be useful if you want to give the snow a warm glow making it look like the sun is setting, or make the snow look more smooth in rugged mountain terrain.
Because of the high contrast of the snow and other objects, this feature works so good with mountain landscape photography.
- In Lightroom: Go to Masks -> Luminance Range -> Select an area to mask in your photo.

In the above image I was able to mask the snow very easily and make the upper half more smooth for a nice smooth image with depth in it.
Final tips and thoughts on mountain landscape photography
Hiking in the mountains with your camera is an incredible experience. So, to ensure you have the best photos at the end of your trip after an amazing day, it’s smart to be well-prepared.
Think ahead of what you want to photograph and focus on all those options, like different compositions, various zoom ranges, and light directions, every time there is a new view.
One final tip: Minimize the number of photos taken while standing. This is because so many photos taken with mobile phones nowadays are shot that way.
So, to get a more unique feel to your mountain photo, try to get really low to the ground, shoot from the waist, or think of a portrait shot that is not aiming directly in front of you.
Aim for a different angle than the usual way of holding a phone/camera.
Hopefully, this guide/tutorial will help you to get those epic shots. If you have any additional tips or comments, please post them below!
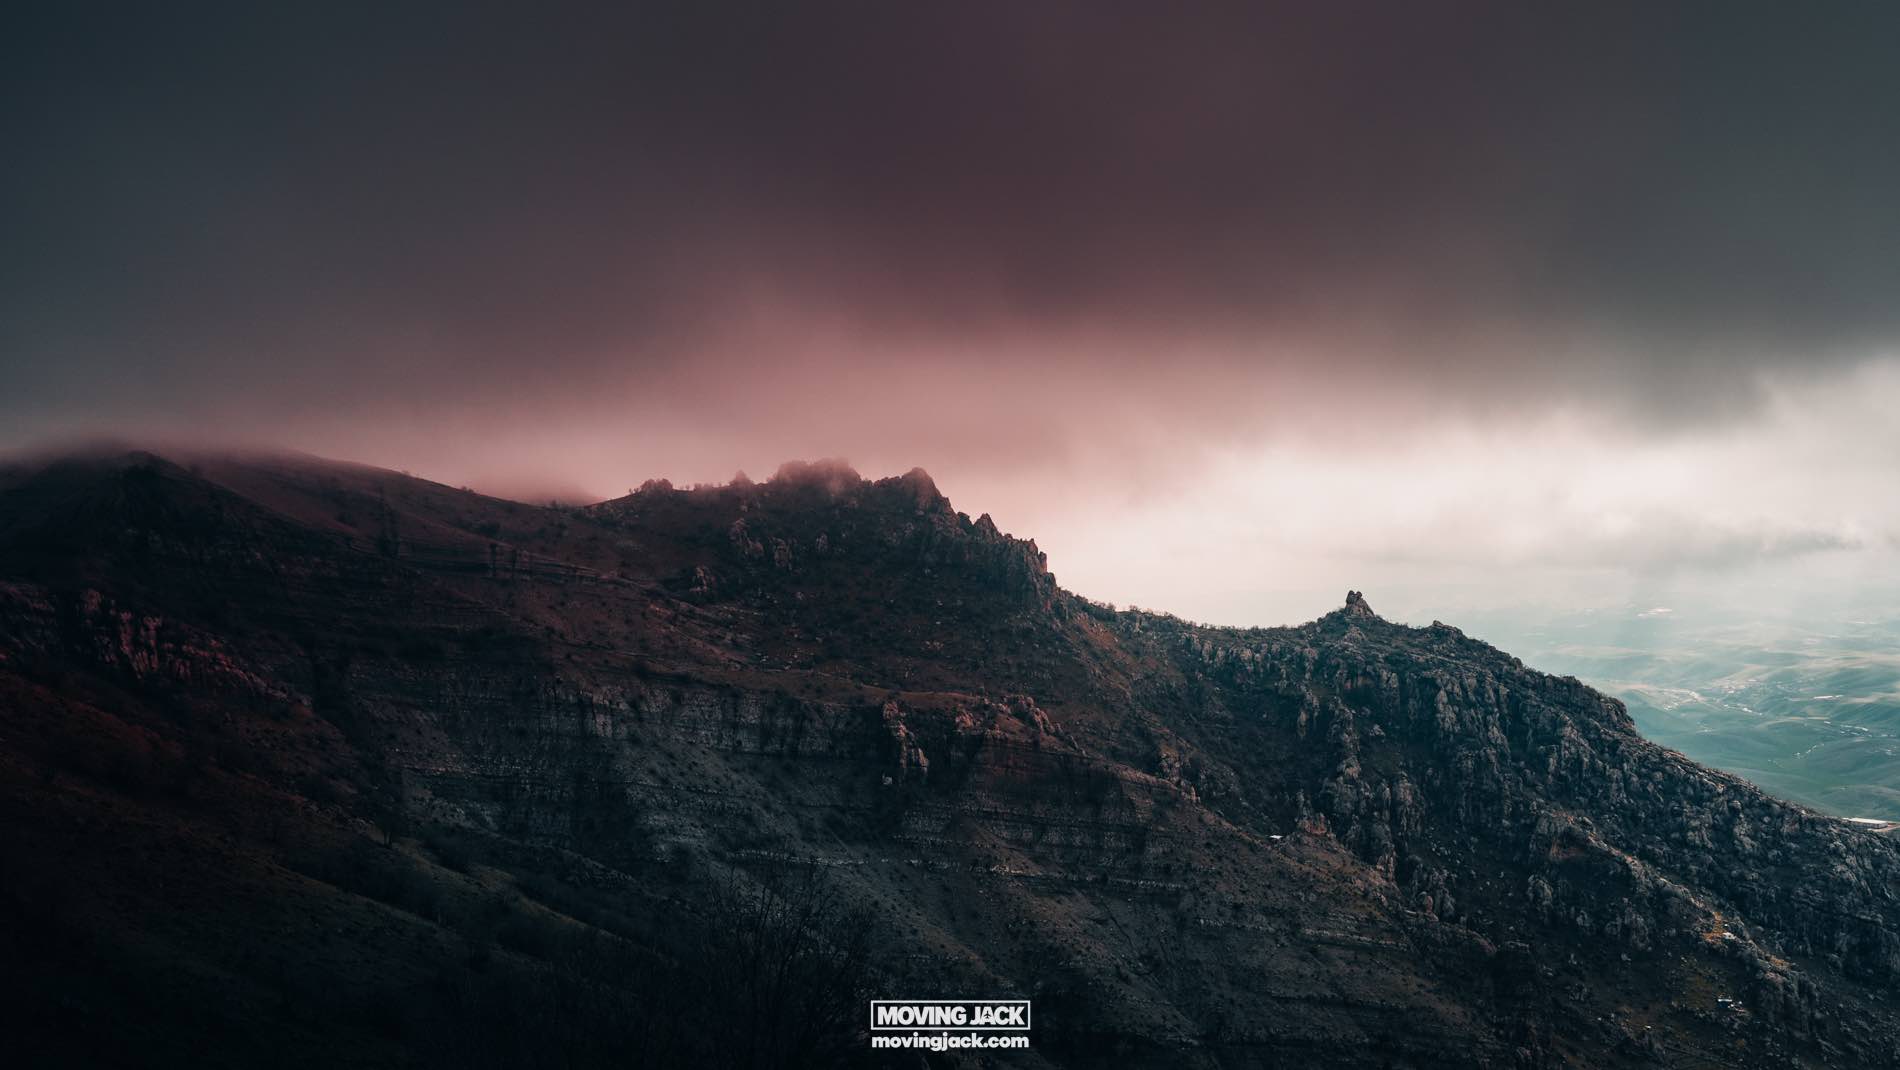
Here is one of my personal favorite mountain landscape photography shots taken in Kurdistan, in the northern part of Iraq. Yes, snow in Iraq in June, actually!
You can imagine how high it had to be to be cold enough for snow in such a hot country in the summer.

F.A.Q.
How can I make my mountain pictures stand out?
To make your mountain pictures stand out, look for jagged peaks, storm clouds, or unique compositions that showcase the beauty of the landscape. Use a zoom lens to capture distant details. By using a large zoom range you stand out compared to all mobile phones photos nowadays! And use Lightroom for post-processing.
Where can I find the most beautiful mountain ranges?
The United States is famous for its beautiful mountains. Also, the Dolomites in Europe and even places in the Middle East, such as in the northern part of Iraq, beautiful mountains (with snow) can be found. But with the right skills any mountain can be an epic photo!
Jack, what type of camera do you use?
I use the Sony a7C; it’s full-frame and lightweight.
Which lens do you use?
I bring the Tamron 50-400 along on most of my trips. It is half the price of its Sony rival and just as sharp.
Which backpack do you bring on your photography trips?
The Wandered Pryvke, which I can highly recommend, is sturdy and very practical.
What are some essentials for mountain landscape photographers?
Essentials for mountain landscape photographers include a zoom lens for capturing distant details, a tripod, items for in the foreground, a subject or person to show the magnitude of the mountains, and Lightroom for editing and enhancing photos.


